
How to label network cables so the labels stay correct
A cable naming scheme, the rule that the label must equal the cable's ID in your documentation, and how to print QR labels from the cable record.
Most data centers have at least one cable with no label and both ends buried in a bundle, and nobody wants to unplug it to find out where it goes. Labeling costs very little compared with the time it saves, but it is also one of the first things to fall behind. This post describes a labeling scheme that holds up over time, and how to keep the physical label in step with the cable's record in your documentation.
Why hand-labeling fails
A marker on a flag of tape works on the day of the install. Six months later the ink has smudged, three cables have been re-run without new labels, and the person who kept the scheme in their head has left. The label itself is rarely the cause. The cause is that the label and the documentation are two separate sources of truth, and they start to disagree almost at once.
The fix is to print the label from the documentation, so that the label is a rendering of the record and no longer a second copy of it. If the label comes from the same record that tells you what is plugged into port 7, there is only one source and nothing for it to disagree with.
A naming scheme that sorts and scales
Decide how a cable is named before you print anything. A good identifier is short, unique and sortable. The TIA-606 labeling standard defines this formally, but you can get most of the benefit without adopting the full standard, as long as you are consistent. One pattern that works:
<site>-<type><nnn>       e.g.  CPH-W001   (a WAN uplink)
                                CPH-U103   (an uplink trunk)
                                CPH-S004   (a server run)
Two rules keep the scheme usable over the years:
- Name the run and leave the endpoints out of the name. A cable named "sw1-to-sw2" is wrong as soon as you move one end to another switch. A serial such as
CPH-U103stays correct through moves. - Use one scheme per site and write it down.
U24becomes ambiguous as soon as one person numbers a rack from the top and a colleague numbers it from the bottom. Pick one convention and use only that one.
The label must equal the cable's ID in the source of truth
The physical label is the cable's ID in your source of truth. It has to be exactly the same string, because a label that is only close to the ID cannot be searched for.
When the two match, an engineer at the rack reads CPH-U103 off the jacket, types it into search and lands on that cable's record, with the A side, the B side, the length, the media type and the patch panels it passes through. When the two differ, people stop trusting both of them and go back to tracing cables with a flashlight. Model the cable as its own object with both ends terminated and give it that ID. The label is then the same ID printed on the jacket.
Print the label from the model
This is where a label maker inside your DCIM is useful. You do not export to a separate label program and type everything in again. You design one template per object type, such as cable, device, rack or IP, and print from the record.
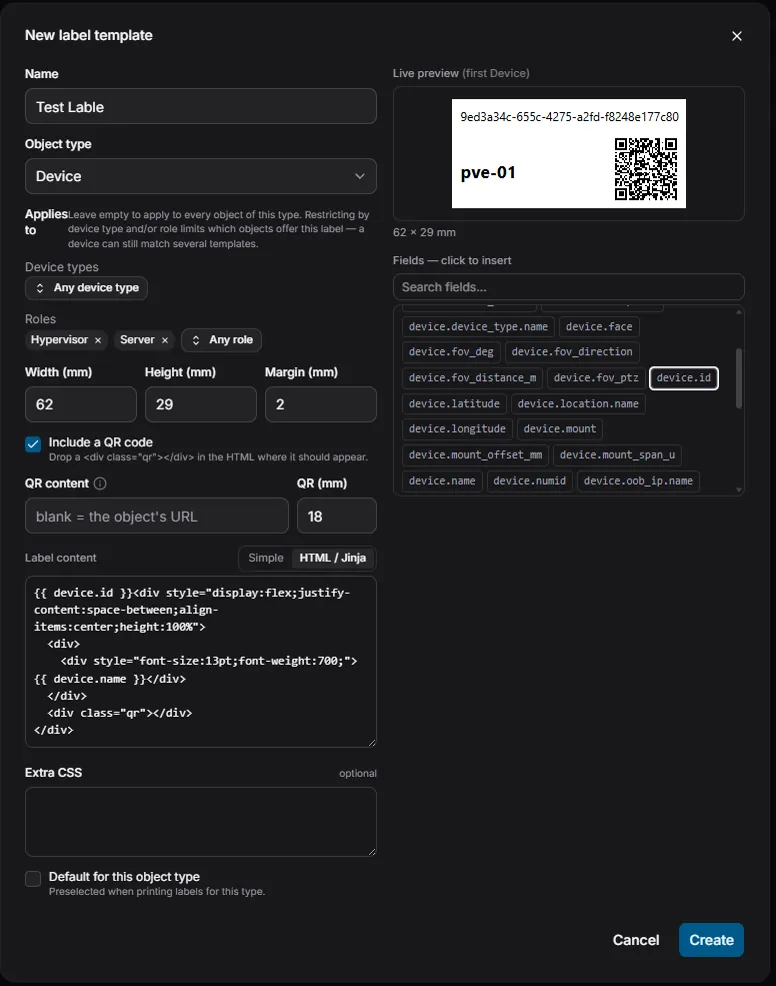
Design the label once at its true size
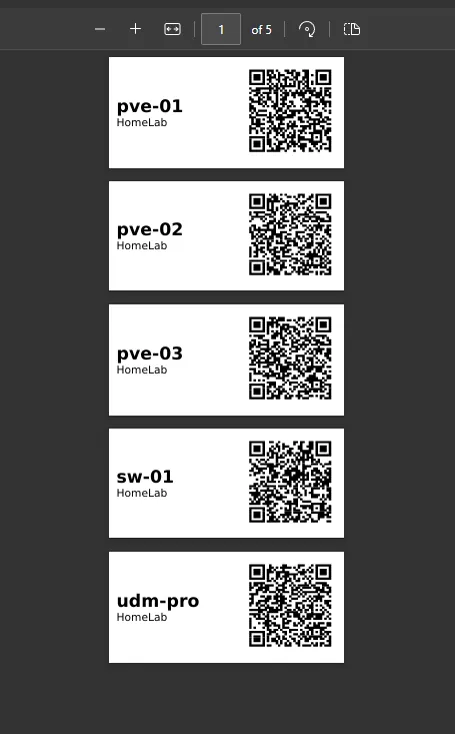
Lay out the label with the fields you need, such as the cable ID, both endpoints and the media type, in a simple builder or in raw HTML. A QR code encodes a short link back to the object, so scanning a jacket in the field opens the full record on your phone. Printing produces a PDF sized exactly to the label, so it comes out at its true physical size and you do not have to work around browser margins.
The template reads its fields from the record at the moment you print. When a record changes, you reprint and the new label shows the current values. A template is tied to an object type, so one cable template covers every cable you print.
Print labels in bulk on the printer you have
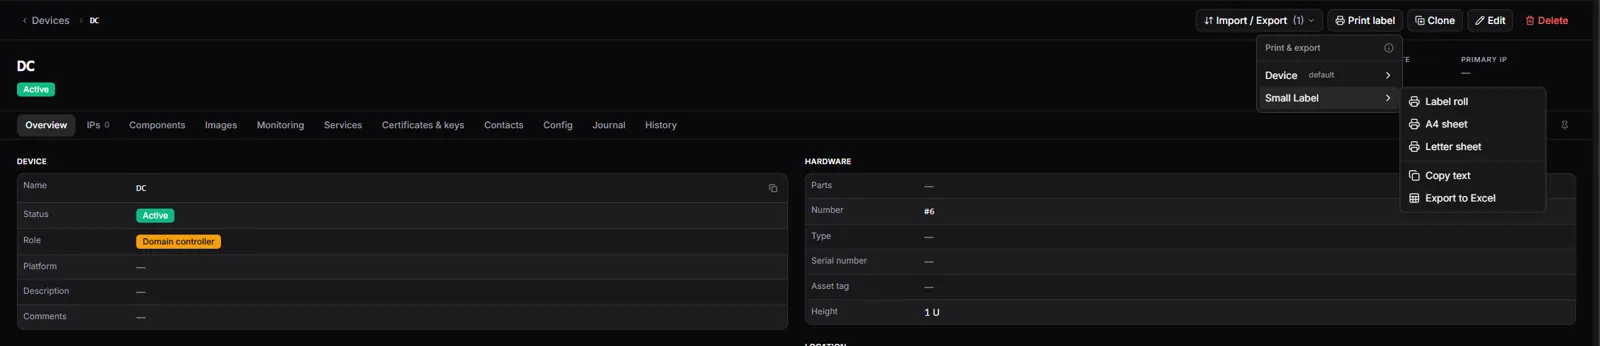
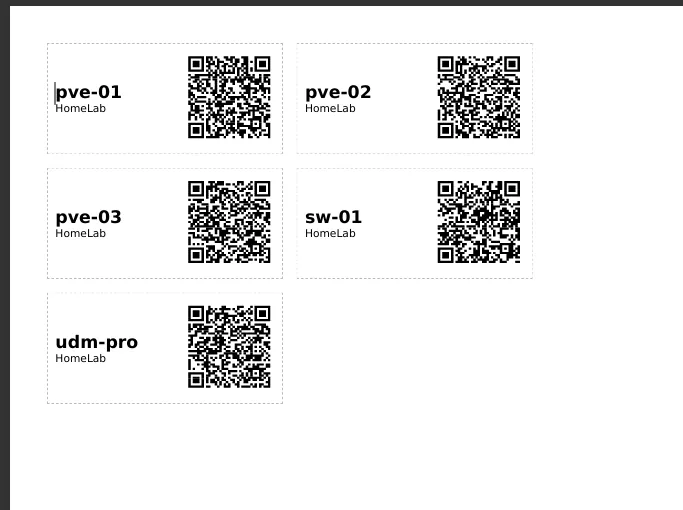
Cables are rarely labeled one at a time. You can select all the runs in a rack and send them to a label roll on a thermal printer, tile them onto an A4 or Letter sheet for the office laser printer, or export the selection to a spreadsheet if an external label shop does the printing.
The workflow from planning to tracing
Put together, the scheme gives you four steps that each feed the next:
- Model the cable when you plan the run, with both terminations, the type, the length and its ID.
- Print from the record. The label carries the ID and a QR code that links back to the object.
- Scan at the rack. A phone camera opens that cable's record, so nobody has to walk back to a laptop.
- Trace end to end. Follow the run through every patch panel without unplugging anything.
The fourth step is where the earlier work pays back. When both ends and every patch panel are in the model, finding out where CPH-U103 goes is a query that follows the whole path, including the trunks, and nobody has to guess.
Practical tips
- Label both ends and the middle. Put a jacket label near each connector and one more where the run enters a bundle, so the cable can be identified wherever you pick it up.
- Print the labels and do not write them by hand. Handwriting is the first thing to become illegible. A thermal or laser label with a QR code stays scannable.
- Reprint when the record changes. There is no need for a reprint schedule. If the label is printed from the record, a change to the record is the only reason to reprint.
- Automate the bulk work. Danbyte has a REST API, so you can generate the labels for a whole site from an import sheet, or reconcile them against what is cabled today.
Danbyte models cabling as a connected graph. Every cable is its own object with both ends, it passes through patch panels, and Danbyte prints QR labels for any object from that model. All of this is in the free, open-source release, which you can self-host. The docs take you through your first rack and its cabling.
A good place to start is one cable that nobody can identify today. Add it to the model, print its label from the record, and the next person who opens that bundle can look it up.